Welcome to the Singer Stitch Sew Quick Manual, your comprehensive guide to mastering this portable sewing machine. Designed for simplicity and efficiency, it covers setup, operation, and maintenance.
1.1 Overview of the Singer Stitch Sew Quick Sewing Machine
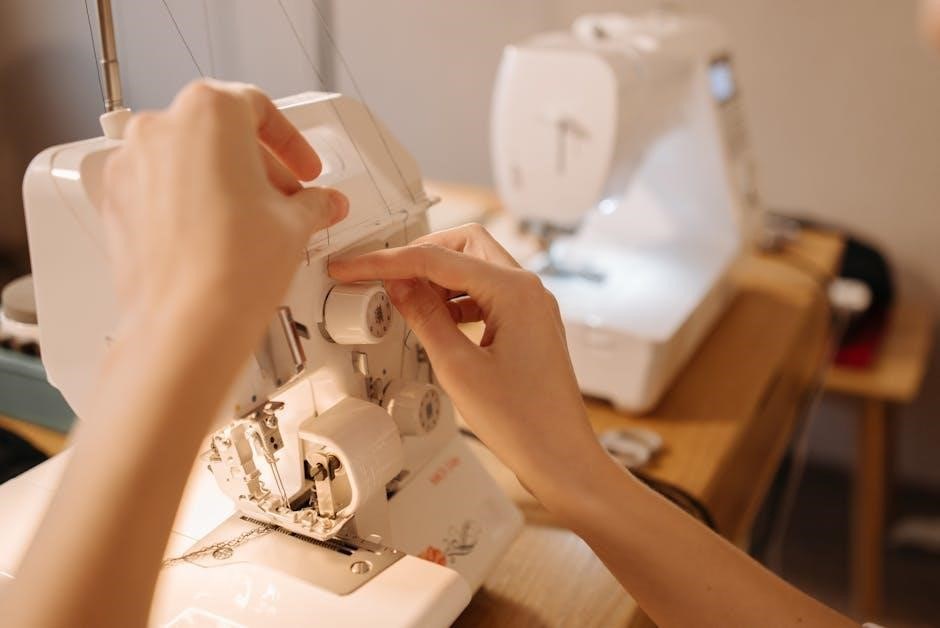
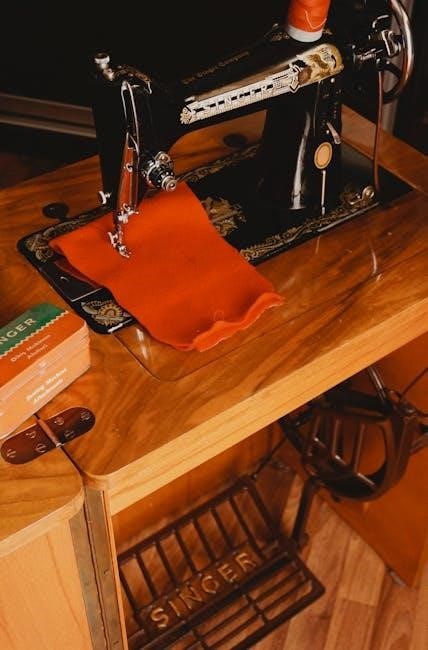
The Singer Stitch Sew Quick is a portable, handheld sewing machine designed for quick repairs and small sewing projects. It is ideal for thin fabrics and hems, making it perfect for DIY enthusiasts and crafters. This user-friendly device features a compact design, easy operation, and essential stitching capabilities. With its lightweight build and straightforward controls, the Stitch Sew Quick is great for beginners and experienced sewists alike. It’s a versatile tool for tackling minor sewing tasks efficiently, ensuring professional-looking results with minimal effort. Its portability and ease of use make it a must-have for everyday mending and creative projects.
1.2 Key Features and Benefits of the Stitch Sew Quick
The Singer Stitch Sew Quick offers a range of features that make it a versatile and practical sewing companion. Its portability allows for easy transport, while the straightforward controls ensure a smooth sewing experience. The machine is specifically designed for thin fabrics, making it ideal for hems and delicate materials. It also includes a manual adjustment option for stitch length and width, giving users more control over their projects. Additionally, the machine is equipped with a button sewing foot for precise buttonhole stitching. These features, combined with its ease of use, make the Stitch Sew Quick a valuable tool for both beginners and experienced sewists.
Setting Up and Preparing the Singer Stitch Sew Quick
Begin by unboxing and inspecting the machine for all included accessories. Refer to the parts diagram to familiarize yourself with components like the needle and tension controls. Properly thread the machine, ensuring the thread is securely knotted. Prepare the bobbin by winding it with the appropriate thread and inserting it correctly. Always keep the machine clean and lubricated for optimal performance, and ensure all parts are securely in place before use.
2.1 Unboxing and Initial Setup
Begin by carefully unboxing the Singer Stitch Sew Quick and inspecting all components, including the machine, power adapter, and accessories. Familiarize yourself with the handheld design, designed for portability and ease of use. Remove any protective packaging and ensure all parts are intact. Locate the user manual and review it to understand the machine’s features and operation. Before first use, ensure the machine is fully assembled and ready for threading. Store any additional accessories like the button sewing foot or spare needles in a safe place. This initial setup ensures you’re prepared for seamless sewing experiences.
2.2 Threading the Machine and Tying a Knot
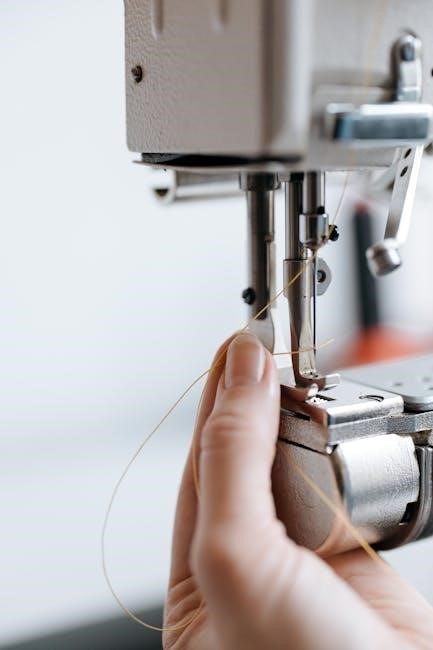
Threading the Singer Stitch Sew Quick is straightforward. Insert the thread into the machine’s tension guide, then gently pull it through the needle; Ensure the thread is seated properly to maintain consistent tension. Once threaded, tie a knot at the end of the thread to secure it. This prevents the thread from coming loose during sewing. For added security, sew a few reinforcing stitches at the start of your seam. Proper threading and knot-tying are essential for smooth operation and professional-looking results. Always refer to the manual for detailed step-by-step guidance on this process.
2.3 Understanding the Parts Diagram
The Singer Stitch Sew Quick manual includes a detailed parts diagram to help you identify and understand each component. Key parts include the needle arm, tension control, on/off button, adapter inlet, and set screw. The needle arm holds the needle in place, while the tension control adjusts thread tightness. The on/off button powers the machine, and the adapter inlet is for connecting power. The set screw secures parts in position. Familiarizing yourself with these components ensures proper operation and maintenance. Refer to the diagram for clear visuals and descriptions to better understand how each part functions within the machine.

Basic Sewing Functions and Techniques
Discover the fundamentals of sewing with the Singer Stitch Sew Quick. Learn straight stitching, adjusting lengths, and securing stitches for flawless results. Perfect for beginners and quick repairs.
3.1 Straight Stitch Operation
The Singer Stitch Sew Quick excels in straight stitch operation, perfect for basic sewing tasks like hems and repairs. To begin, ensure the machine is properly threaded and the needle is securely in place. Place your fabric under the needle, holding it taut but not stretched. Gently squeeze the activation button to start sewing. Use your left hand to guide the fabric smoothly under the needle for consistent stitching. For best results, maintain steady control over the fabric’s movement. This function is ideal for straight-line sewing on thin to medium-weight fabrics, delivering precise and reliable stitches every time.
3.2 Adjusting Stitch Length and Width
The Singer Stitch Sew Quick allows easy adjustment of stitch length and width to suit your sewing needs. Use the manual adjustment buttons to customize settings. The default stitch length is set to 5, but you can adjust it between 1 to 5 for varying fabric thickness. Similarly, stitch width can be modified from 0 to 5 for different seam types. Press the appropriate button to increase or decrease the stitch dimensions. Always test the settings on scrap fabric before sewing to ensure desired results. These adjustments enable precise control over your stitching, making it ideal for various sewing projects. Start with default settings and tweak as needed for optimal outcomes.
3.3 Securing Stitches at the End of Sewing
To ensure your stitches are secure, sew a few final stitches in place. Tie a knot in the thread near the fabric and trim excess. This prevents unraveling and keeps seams durable. Use the machine’s securing stitch function or manually knot the thread for reliability. Always test on scrap fabric first to confirm settings. Properly securing stitches is essential for long-lasting results, especially on thin fabrics or hems. This step ensures your work remains intact and professional-looking. Follow these guidelines to maintain the quality of your sewing projects with the Singer Stitch Sew Quick.
Advanced Sewing Tips and Tricks
Explore advanced techniques to enhance your sewing with the Singer Stitch Sew Quick. Discover tips for optimizing stitch settings, using specialized feet, and customizing fabric handling for professional results.
4.1 Sewing Thin Fabrics and Hems
For sewing thin fabrics and hems, the Singer Stitch Sew Quick excels with its precision and control. Ideal for materials like silk, cotton, or lightweight synthetics, it ensures smooth stitching without fabric bunching. When hemming, use the Button Sewing Foot for accurate placement and straight lines. Adjust tension settings to prevent puckering, and maintain steady fabric movement. Use matching thread colors for invisibility. For delicate fabrics, reduce stitch length slightly. This machine is perfect for small-scale projects, offering portability and ease for quick repairs or alterations. Regular cleaning ensures optimal performance on thin fabrics;
4.2 Using the Button Sewing Foot

The Button Sewing Foot is ideal for attaching buttons and sewing thin fabrics. To use it, align the foot with the machine’s needle and snap it into place. Position the button under the foot, ensuring it’s centered for even stitching. Sew a few securing stitches to attach the button firmly. This foot is also useful for guiding fabric edges, ensuring straight lines and precise control. Adjust stitch length and width as needed for your project. Regularly clean the foot to maintain optimal performance and prevent thread buildup. This accessory enhances efficiency for small-scale sewing tasks.
4.3 Manual Adjustments for Custom Stitching
For tailored results, manually adjust stitch length, width, and needle position using the designated buttons. The default stitch length is 5, but you can customize it to suit your fabric. Thinner fabrics may require shorter stitches, while thicker materials need longer ones. Adjust the stitch width for decorative effects or reinforced seams. Use the needle position adjustment for precise edge stitching. Always test adjustments on scrap fabric before sewing your final project. These manual controls allow for personalized stitching, enhancing creativity and ensuring professional-looking results. Regularly clean the machine to maintain smooth operation during custom adjustments.

Maintenance and Troubleshooting
Regular cleaning and oiling keep your Singer Stitch Sew Quick running smoothly. Replace needles and bobbins as needed. Troubleshoot common issues like thread jams or uneven stitches promptly.
5.1 Cleaning and Oiling the Machine
Regularly clean the Singer Stitch Sew Quick to remove dust and thread fragments. Use a soft, dry cloth to wipe the exterior and internal parts. Turn off the machine before cleaning. For oiling, apply a few drops of high-quality sewing machine oil to the metal components, as indicated in the parts diagram. Avoid over-oiling to prevent residue buildup. Clean and oil the machine after every 10 hours of use for optimal performance. Proper maintenance ensures smooth operation and extends the machine’s lifespan. Always refer to the manual for specific oiling points and cleaning techniques.
5.2 Replacing the Needle and Bobbin
To replace the needle, turn off the machine and allow it to cool. Use the screwdriver provided to remove the old needle. Insert a new Singer-branded needle, ensuring it clicks securely into place. For the bobbin, slide open the bobbin compartment, remove the old one, and insert a new Class 15 metal bobbin. Ensure the bobbin is seated correctly and the thread is properly wound. Always use Singer-recommended parts for optimal performance. Refer to the parts diagram for guidance. Regularly replacing the needle and bobbin ensures smooth stitching and prevents machine damage. Follow manual instructions for precise steps.
5.3 Common Issues and Solutions
Common issues with the Singer Stitch Sew Quick include thread jams, uneven stitching, and machine noise. For thread jams, turn off the machine, gently remove the tangled thread, and rethread. Uneven stitching may result from incorrect tension settings; adjust the tension dial as needed. If the machine is noisy, check for loose parts or debris. Regular cleaning and oiling can prevent many issues. Always use Singer-branded needles and bobbins for compatibility. If problems persist, consult the troubleshooting section or contact Singer support. Proper maintenance ensures optimal performance and extends the machine’s lifespan. Regularly review the manual for care tips.